
It looks like Brian Schanen is only blogging about PLM 360. So that leaves it to me to explain the Custom Entity feature in Vault Professional 2013. It’s probably better this way. Although you can create Custom Entities without API programming, it’s like setting off fireworks in the daytime. You just don’t get the full effect.
I don’t think I’ll be able to cover everything in just one article, so I’ll just focus on the UI aspects for today. In the coming weeks, I’ll dig deeper into the API details. And if your nose is detecting a nice meaty aroma, that’s the smell of a sample app coming soon.
You can manage your custom entities through the Vault Settings dialog. You may notice that there is a new tab for Custom Objects. (NOTE: custom entities are called “custom objects” in the UI). This tab is mostly empty. The only thing you can do is click the Configure button, which lets you manage the custom entity definitions. You can think of a custom entity definition as a class definition in .NET or a table definition in SQL.

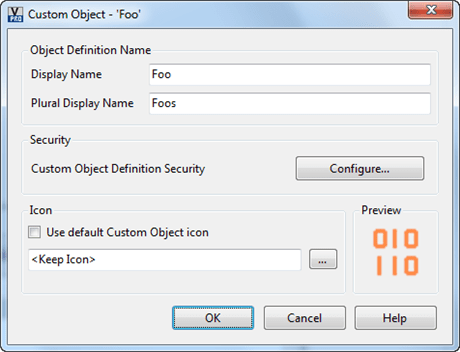
If you create a new definition, you’ll see that there are various fields to set. There the display name and plural display name determines how the objects will be shown to the user. The security defines the default ACL for new objects. The icon is the image that will get displayed next to your objects. This is an .ico file, so you can define multiple sizes. We recommend 16×16 , 32×32, 64×64, or 128×128.
After a custom object definition is created, you need to restart Vault Explorer to see it properly.

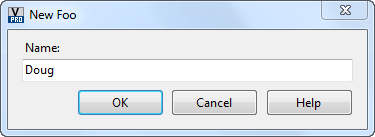
Our custom entities get their own section in Vault Explorer. If we go to one of these sections and create a new object, you will see the default New behavior, which is pretty basic. All you can set is the name for the entity. In another post, I’ll show you how to override this dialog.
Now we have our object, but I’m guessing you are going to want to set more than just the name. To configure things like properties, category, you need to go to the property and category sections of Vault Settings. You will see that Custom Object capability has been added to these settings. Through the category configuration you can set things like property definitions and lifecycle.


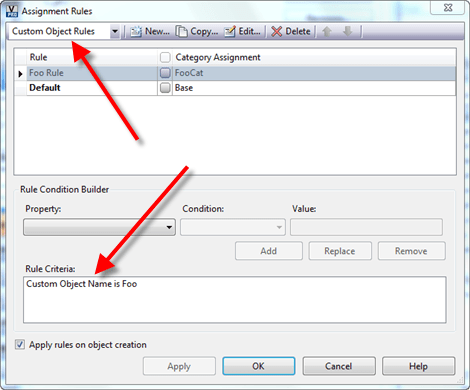
It’s also a good idea to set up a rule to move your custom objects to their own category upon creation.
The last thing I want to go over is the default tabs. The Contents tab works like the Uses tab for files; it shows the children entities. The Were Used tab works the same way but it identifies parents. To set these relationships you use the Link feature. Just copy an entity and “Paste as Link” into the Contents tab of your custom entity. You can link your custom object to and from all the major entity types (files, folders, items, change orders and custom entities).

Hopefully you are starting to see the possibilities, and I’ve only gone over the standard UI behavior. The real fun begins when we get into the API features in part 2.

Leave a Reply