
By default, Vault Explorer provides the View Properties Grid which provides a list of all property values for the selected object. This is a nice default view, but us developers commonly want to have customized property views (aka. property pages). So here is a quick primer on creating property pages in Vault Explorer.
Note: This article is basically a condensed version of Dan Leighton’s excellent AU 2011 class, Manage Dozens of Autodesk Vault Workgroup Properties with Custom Forms and Reports. If you have the time, feel free to skip the rest of this post and view the video on the AU site. Also, his handout is full of sample code!
The first step is to set up your project for writing a Vault Explorer extension. You can read up on this in the SDK documentation. Or you can just copy the HelloWorld example and build off that.
Property pages in Vault Explorer most commonly take the form of custom tabs or custom dialogs. I’ll be showing an example of a custom tab, which means we start by defining our own User Control (right click on your project and select Add –> User Control). Now we have a blank control. Next you drag and drop controls from the Toolbox into your custom control. Usually each property will have two controls, one to display the property name and one to display the property value. A Label control is usually used for the property name. The value is usually represented by a TextBox, but there are tons of controls to choose from. Other useful controls are ComboBoxes, CheckBoxes, DateTimePickers, RadioButtons, and so on. For this example, I’ll keep it simple and just stick to TextBoxes.
Now that we have our controls in place, we need a way to map the specific property values to the correct controls. Sure we could just hard code the mapping for each TextBox, but that doesn’t leave us with any reusable code. It also doesn’t make things easy for us in the future if we have to make changes to our property page. A better way is to add meta-data to our controls. At runtime we route the property data to the correct control based on the meta-data.
There are a couple of ways to set the meta-data on a control. In this example, I’ll use the “Tag” property. I want to set my TextBox Tag values to something that will let me locate the Vault property. You can use the display name of the Vault property if you are sure that it won’t change. Otherwise, I suggest using the system name.

Now we have our control, and our TextBoxes are smart enough to know what Vault property they are supposed to display. The next step is to write code that looks up the Vault properties on a File and routes those values to the correct TextBox…
Or you could just copy my code from the examples below.
Click here for C# code
Click here for VB.NET code
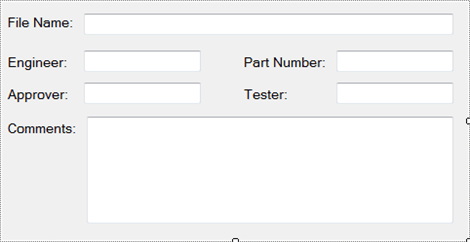
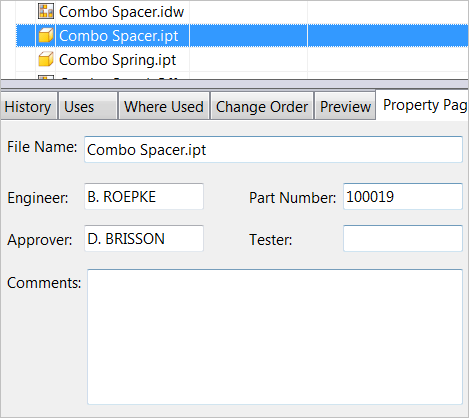
Here is the final output.
If we ever need to display more properties on the page, it’s as easy as dropping in the new TextBox and setting the Tag value.
This is just a simple example to get you started. More complex cases involve different data types, different control types and allowing the user to edit values through your property page.

Leave a Reply